
I still remember my first model car. It was an AMT kit of
the ’95 Viper RT/10. I must have been about 12 or 13 years old. My dad helped
me paint and put parts of it together. I think I finished it in about a day or
two because I was that excited and impatient. And I can’t remember exactly how
it turned out, but I know I was proud of it, and enjoyed every moment. I have
no idea what happened to that mode, but it was most likely broken at some point
and salvaged for parts to other models I would build later. But since then, I
loved the hobby. My interest and time dedicated to it would come and go, with
each build getting more and more detailed and meticulous.
So after two years of a model car hiatus, I decided to pick
it up again. And what better way to kick it off than to build a kit with my
son. This would be Jack’s first model car. I know that he won’t remember the
build, but at least he’d have fun for the time spent, and maybe appreciate it
later on in life. So off to the hobby store we went to pick our kit.
At the store I picked up a couple kits for him to choose
from, nothing too complex. He ended up settling on a ’66 VW Beetle 1300 kit
from Tamiya. So we bought the kit, along with a few supplies, and headed home.
We pulled everything out and cleaned the parts. I let Jack sand the body for a
while, but he got distracted and decided to play with it instead. So once he
went to bed I finished the sanding job and primed it for the Jack Reynolds
custom paint job it would be receiving the following evening.
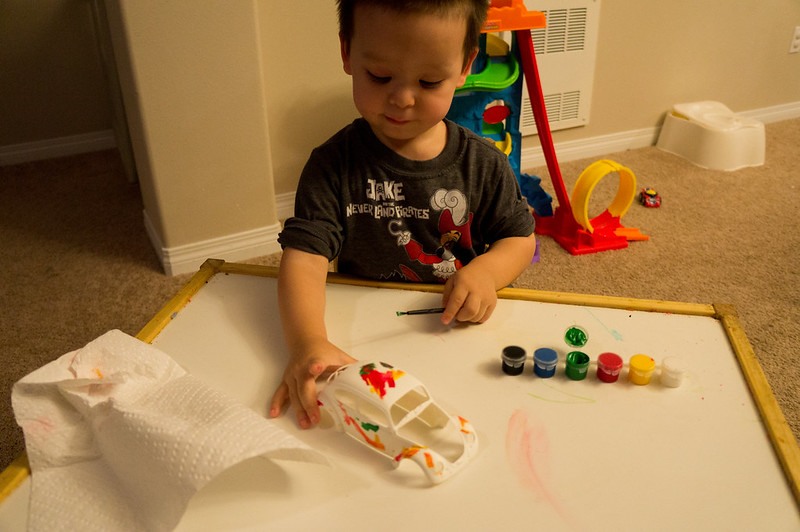
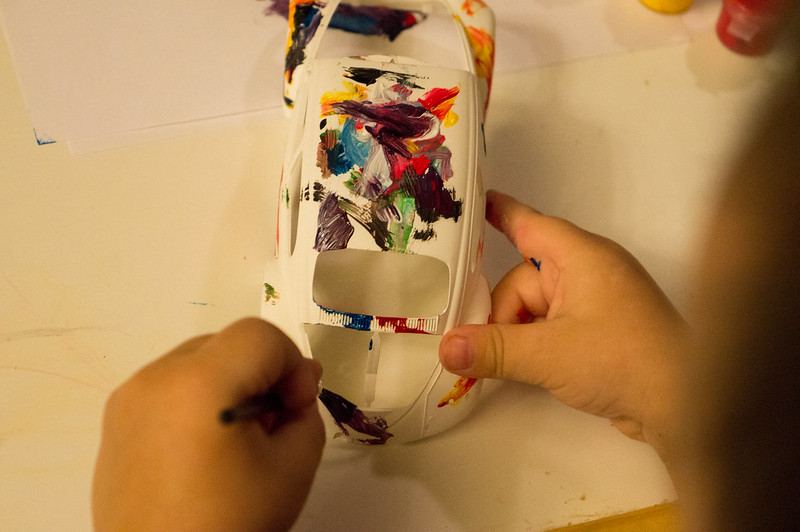
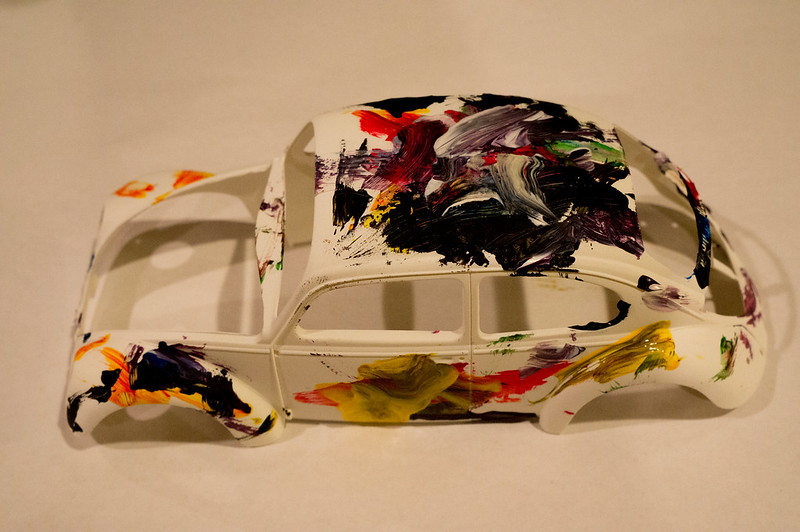
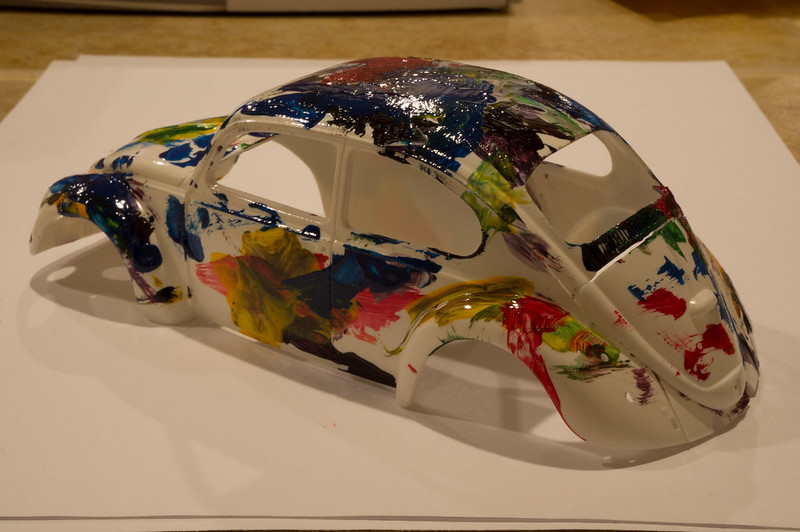
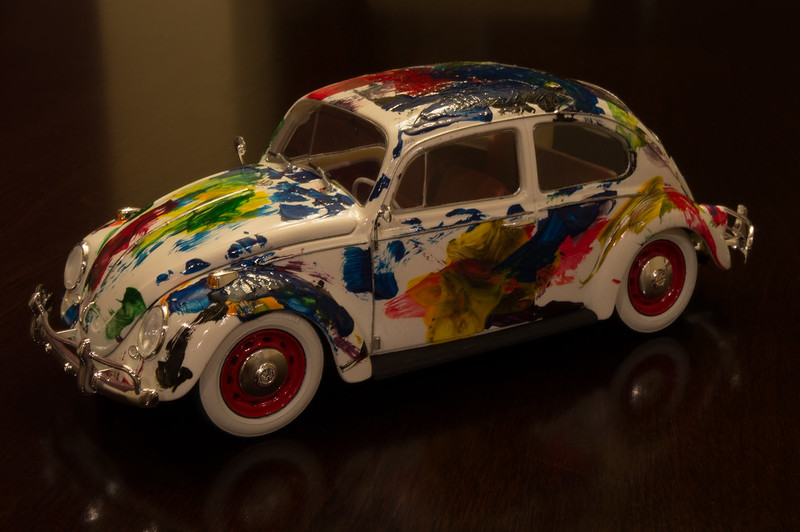
Day 2 we get out the paints. I decided to let him use his
acrylic paints that he got for his birthday, so that any mess could be cleaned
up. He went it at and had a blast.
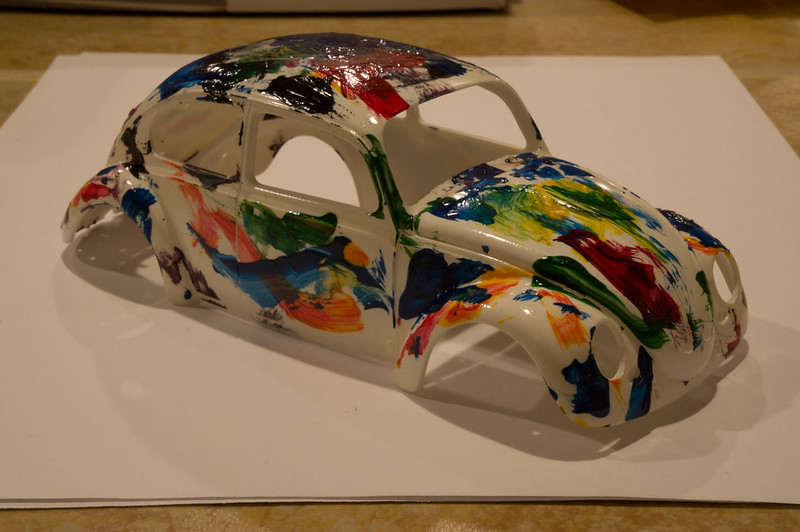
After two nights of painting it was time for clear coat. I sprayed a liberal amount of gloss clear to seal everything in and really make the colors stand out.
Once the body was done, I worked on the rest of the kit. I
started with the engine and then figuring out a way to lower the chassis down
some. Three nights were spent getting the white walls painted on the tires. In
the end it was easiest to over paint and then use cotton swabs and thinner to
clean off the excess. They came out a million times better than I thought it
would.
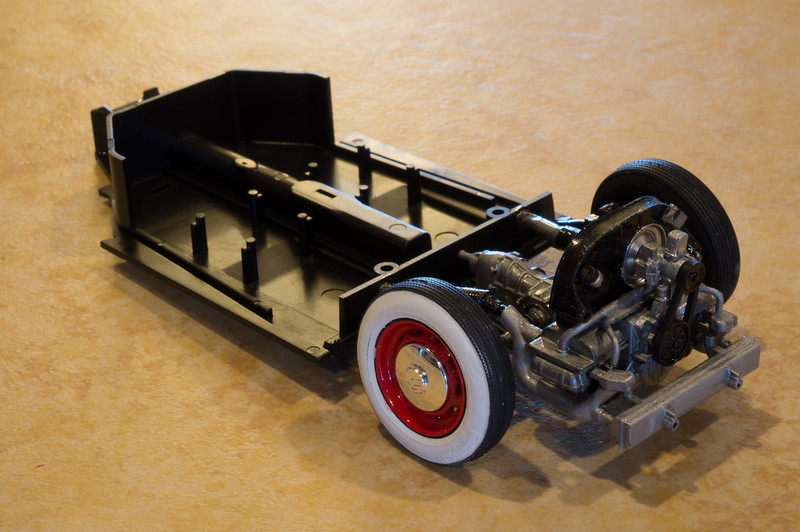
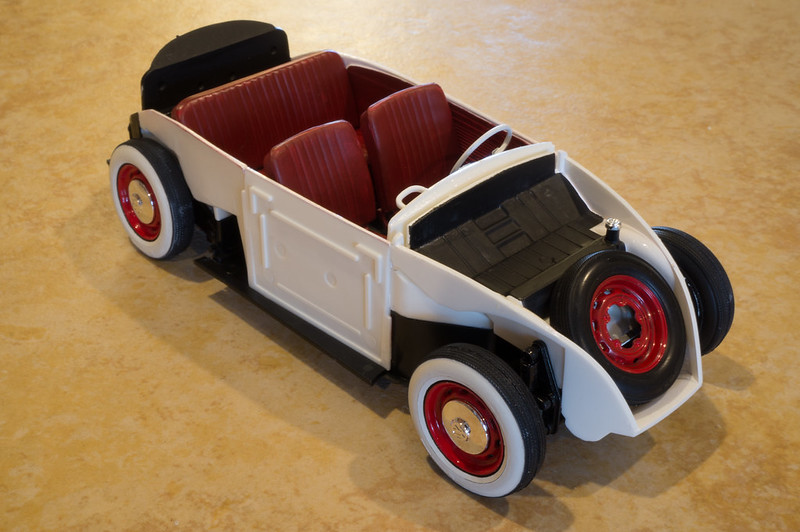
I ended up using a flame to heat up the torque arms and
trans-axles so that I could manipulate them into a lowered position. It took a
while to get it all lined up correctly, but eventually I got it there.
Next thing to tackle was interior. I decided to go with the
pigalle color option on the upholstery. I applied additional coats when the
paint was only semi-dry, and it gave it a nice worn look to my surprise.
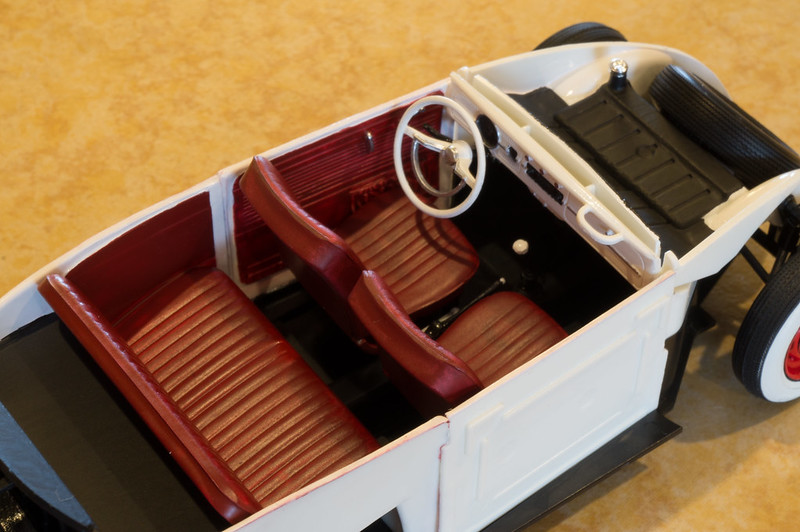
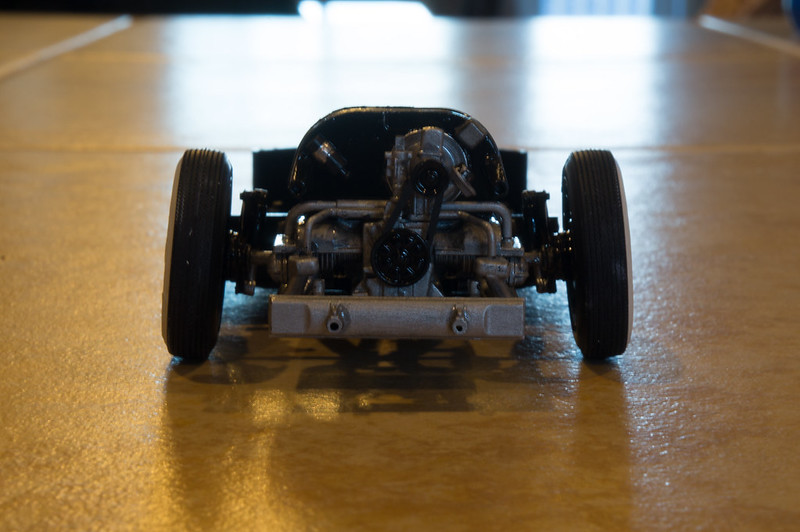
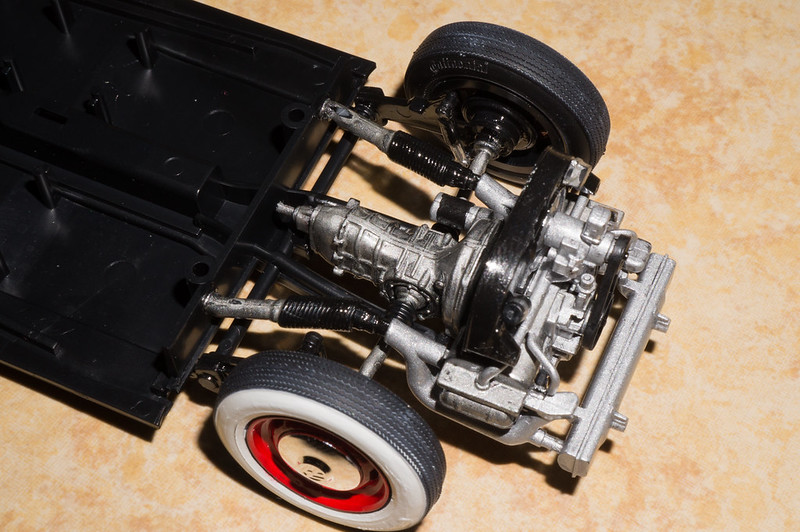
It’s not visible, but some trimming was needed in order to
push the steering further up into the chassis to lower the front end. The spare
wheel covers it up nicely.
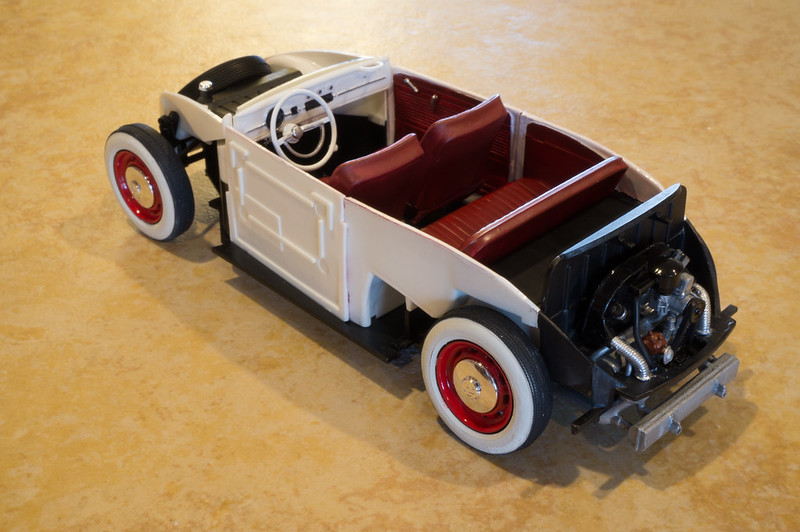
Final chassis shot before throwing the body on.
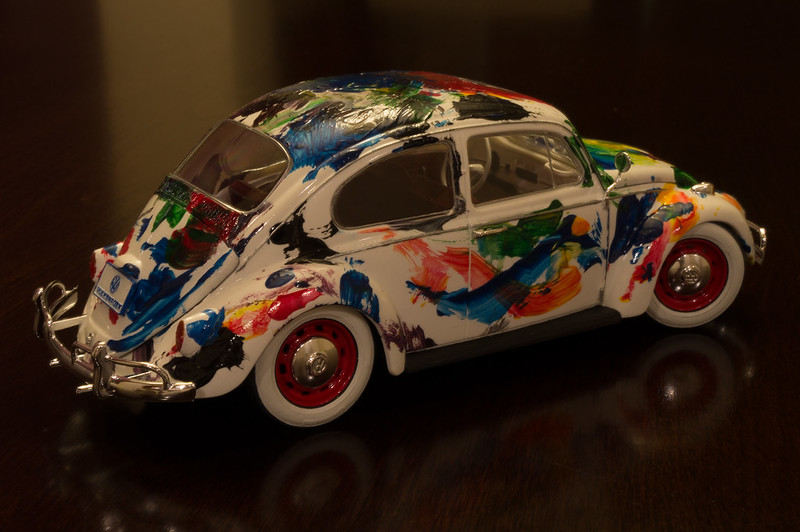
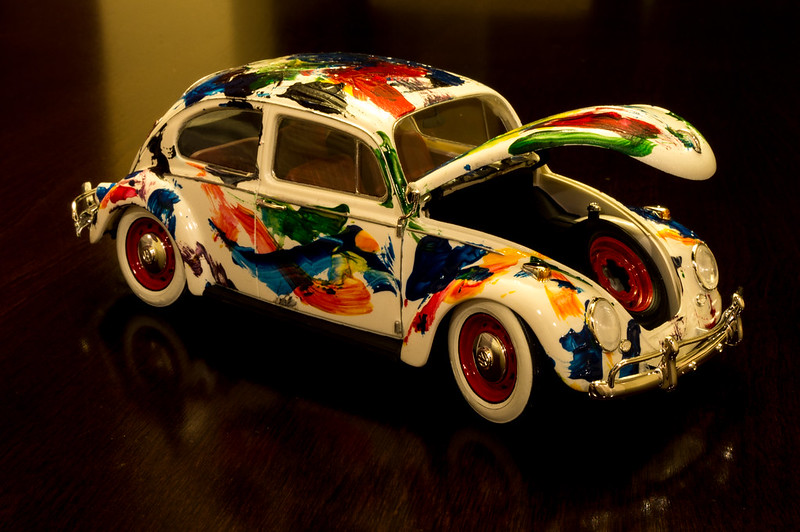
Once the body was on, I set about painting the chrome trip
and gluing all the lights, mirrors, door handles, and bumpers in place. Final
product!

No comments:
Post a Comment