The
Nissan Z cars, they've always held a special place in the automotive chamber of
my heart. After high school I purchased a 1976 280Z. It was five
different colors and cheap. It gave me its fair share of troubles, and even
left me stranded a couple times. But, it was probably the most fun and
memorable car I’ve ever owned. It had character, and an eagerness to go fast. I
loved that car. Unfortunately, I couldn’t afford to give it the love it needed,
and I ended up selling it to someone who could. I still have dreams of buying
another one and restoring it with a G-nose conversion and LZ14 engine swap (big
dreaming there!).
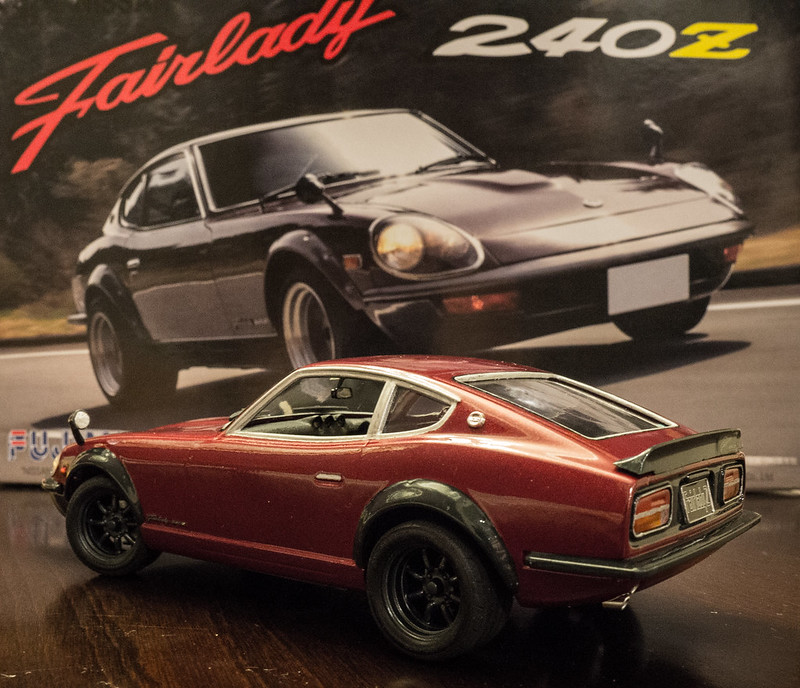
For
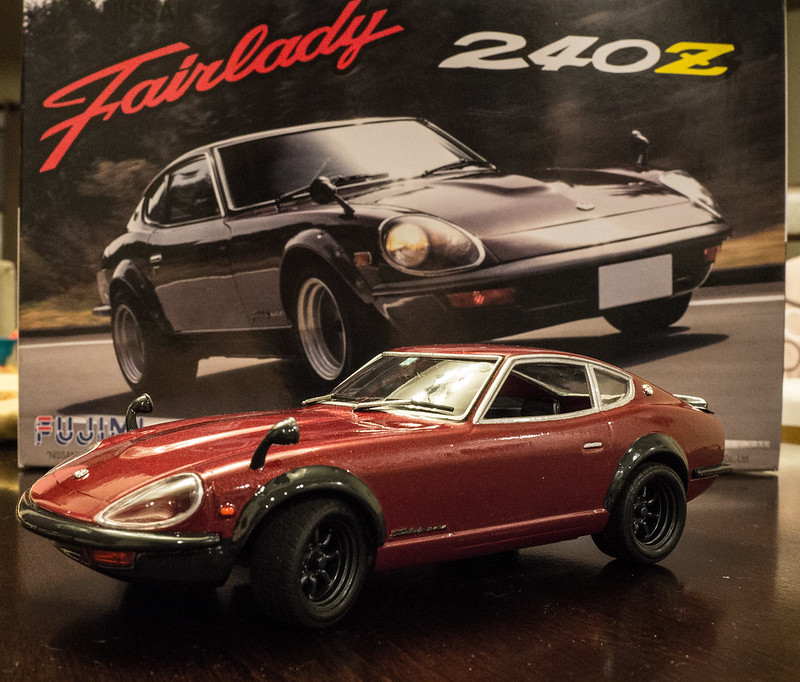
now though, a scale model will have to do. Unfortunately, a decent amount of
Japanese model kits do not come with engine detail. The best I could do was the
Fujimi Fairlady 240ZG kit. This one came with an engine, but as I found out
when I received it, the hood does not open. Hacking the hood open would have
been an option, except that there were no other engine bay details, and I wasn’t
about to fab all of that. So I decided to build this one as the kit called it.
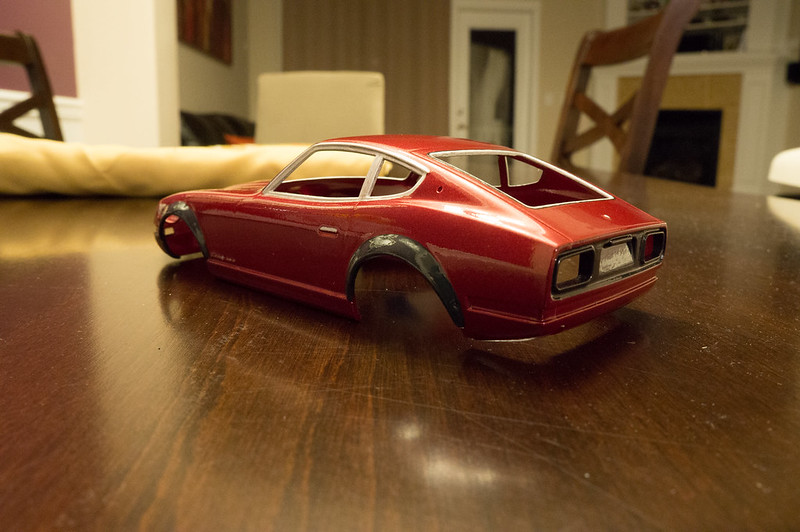
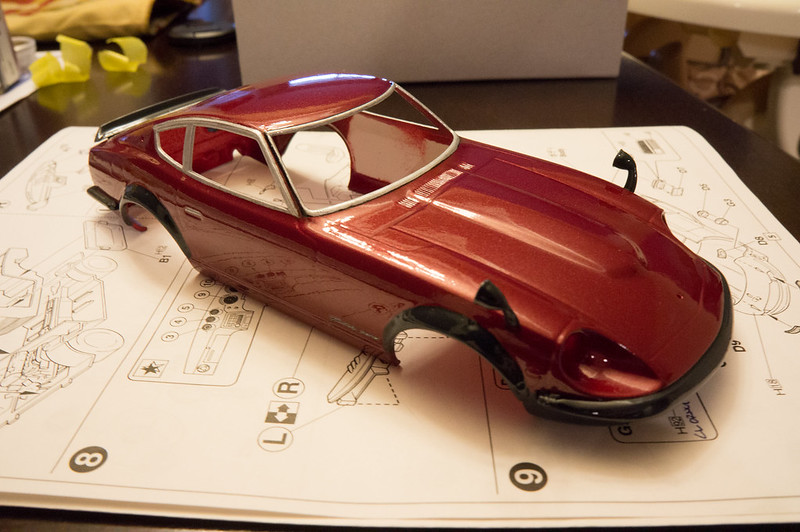
I
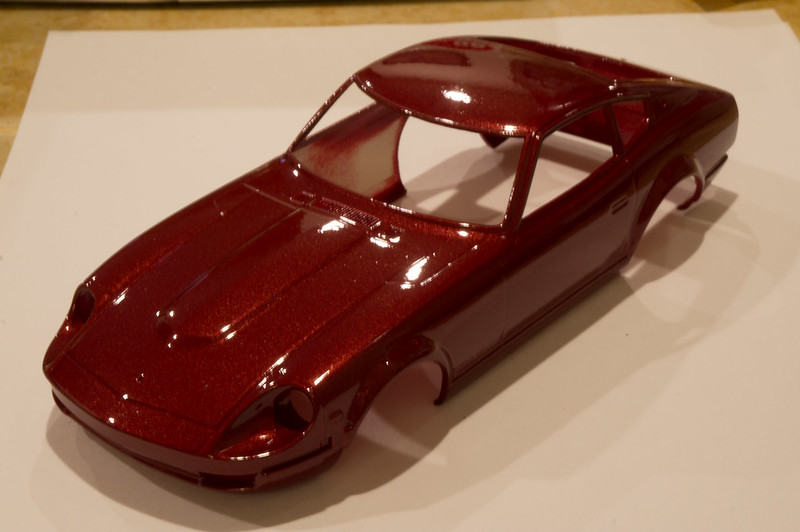
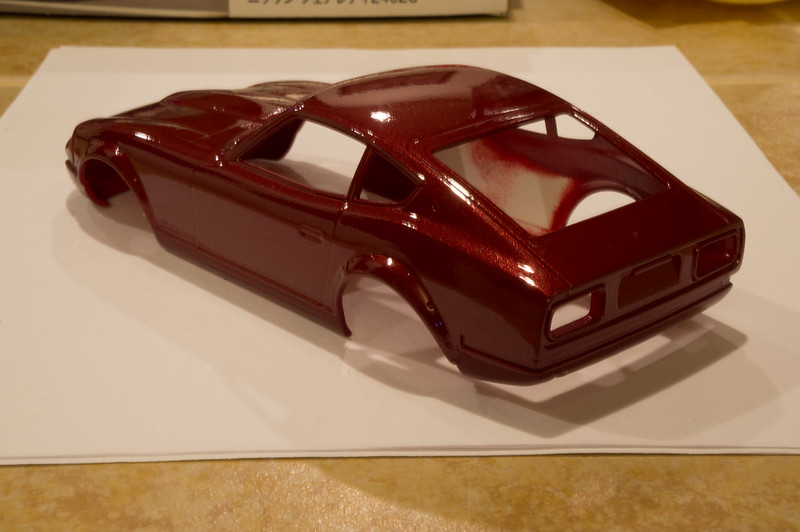
started off by doing my research, getting the correct colors for everything.
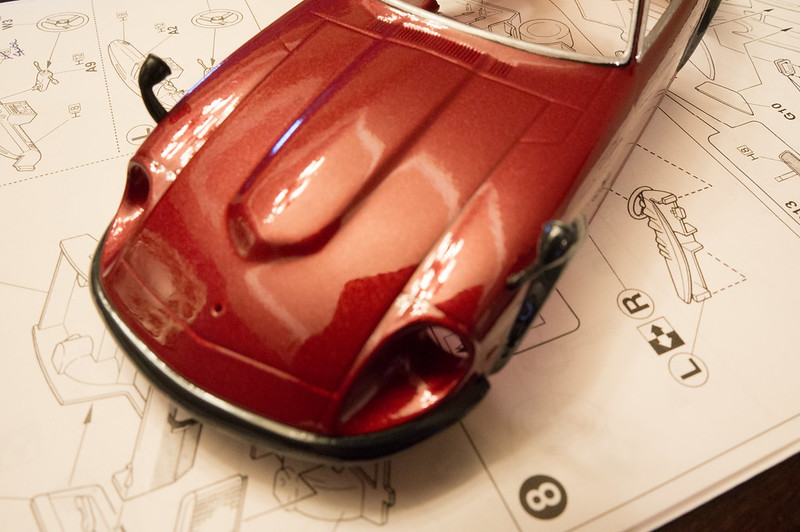
For the exterior I decided to go with the Grand Prix Maroon, but had to settle
on Merlot Red out of the current Nissan catalog for the closest match available.
I used automotive paint from the parts store, as I find it gives a smoother finish
and acts well with the gloss clear coat. I found a new-to-me method for spray
painting models on the internet that I wanted to try out. After sanding and
priming, I applied two thin coats of paint, within about three minutes of each
other. Then I laid down two heavier coats with five minutes in between. I let
that sit for another five minutes and applied the clear coat in two
medium-heavy coats with only about three minutes in between. I put the car in a
warm, secluded spot and let it dry for two days. The results were far better
than anything I’d ever achieved before.
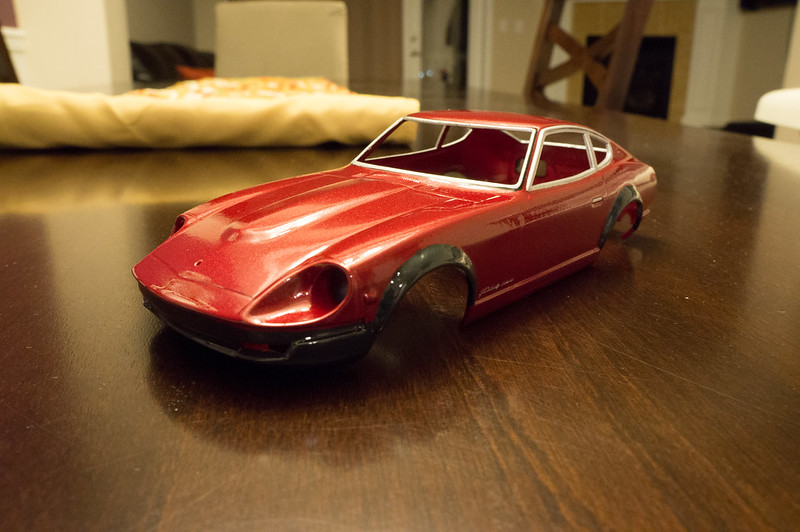
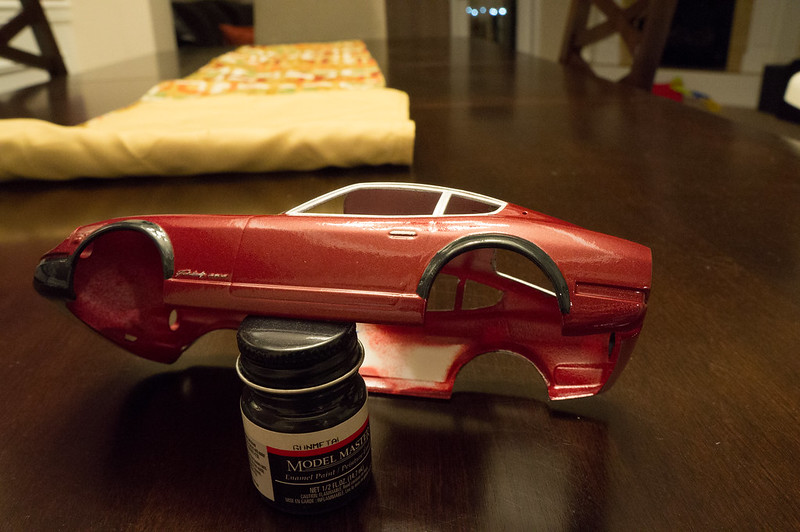
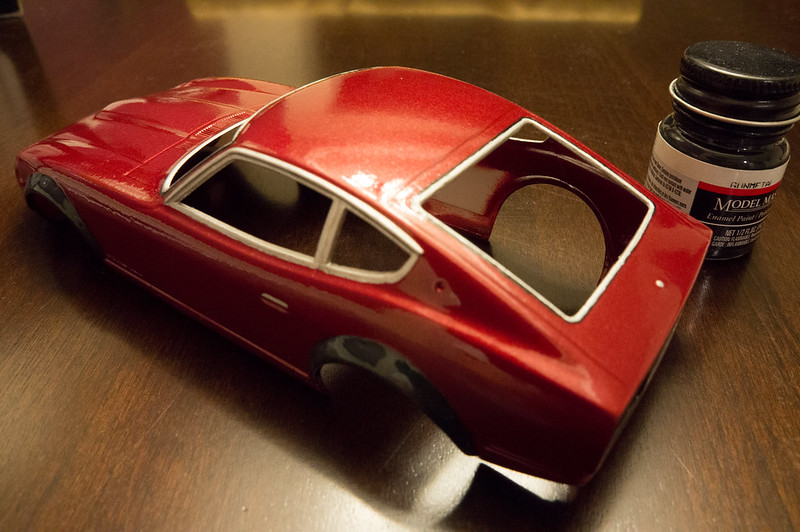
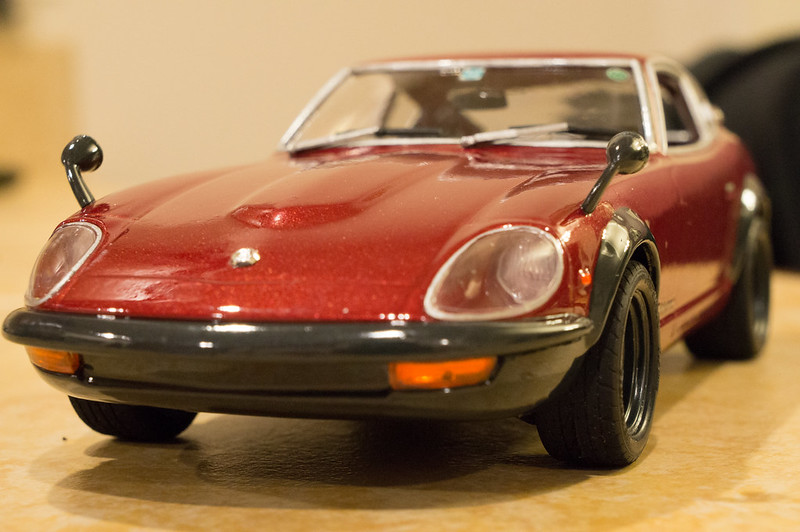
Now
that I got my perfect finish, it was time to get my grimey hands all over it
and paint the window trim. My original idea was to use Bare Metal Foil to give
it that chrome look, but it was way too bright compared to the real car, so I
decided to mask and paint instead. Once I was mostly satisfied with that, I
went on to paint the fender flares, front valance, rear spoiler, and tail bezel
in a gunmetal finish. Then, two more coats of clear to seal it all in.

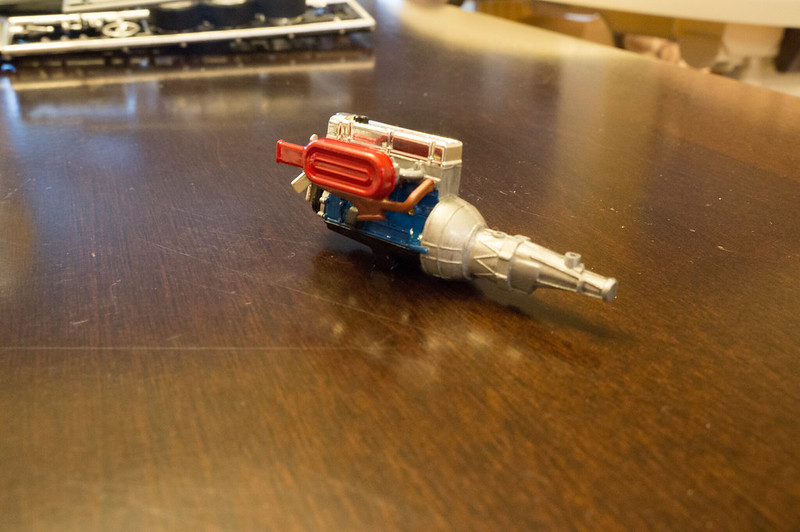
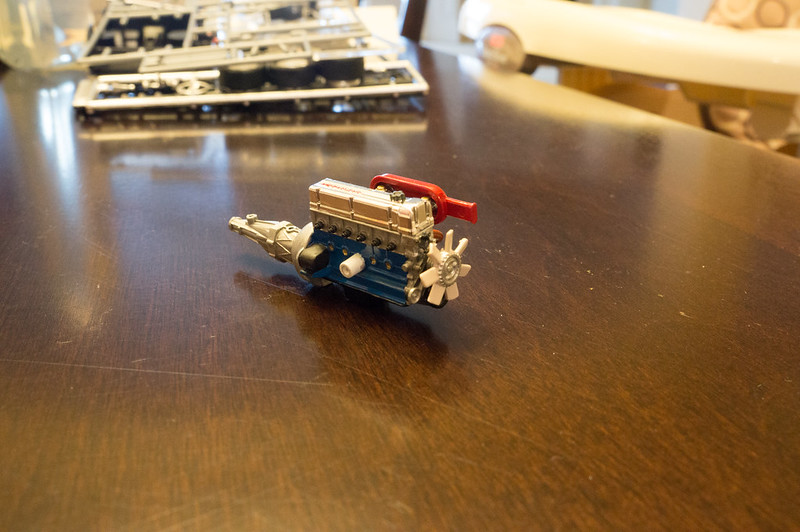
Happy
with that, I moved on to paint and build the engine. I used pictures from the
internet to make the right color selections. I’m always temped to go further on
these engines and build custom headers and intake horns, but it would be a
waste in this case, since the hood doesn't open.
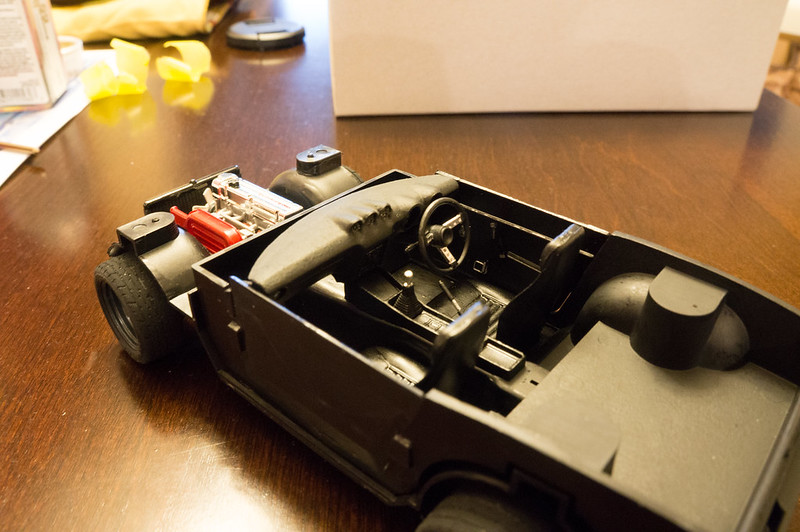
With
that done I started on the interior. Fairly standard, all black with some
chrome accents. I used acrylic floor polish (Future) over a flat black to get a
semi-gloss leathery look. Makes me wish I would have spent more time getting
rid of the mold lines on the seats.
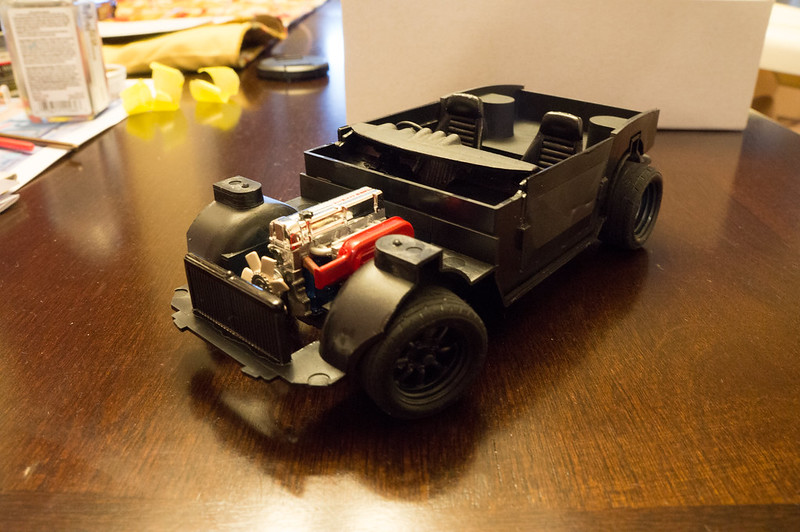
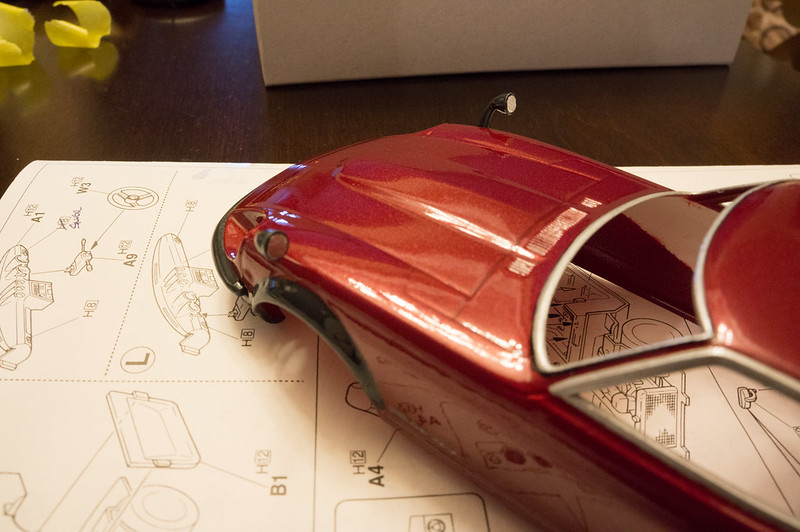
With
the chassis all built up, I went through the tedious task of gluing the side
mirrors and spoiler on. Usually, I end up dabbing glue and trying my best to
hold these little mirrors in place while they dry. This time I had a brilliant
idea. I used a pin vise to drill out tiny holes in both
mating parts, and then used very thin wire as a pin to hold them in place. It worked
great! No gluey mess from a shaky hand, no parts falling off when I thought
they were dried, just nice and easy.

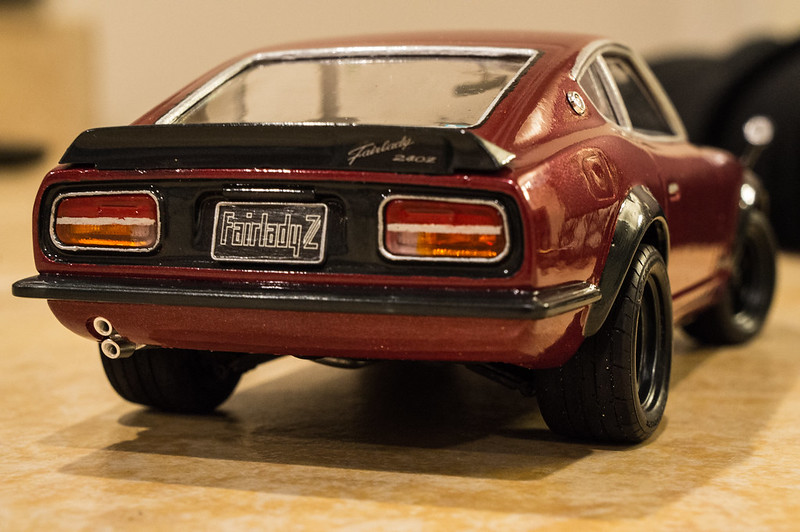
That
out of the way, I applied a couple Fairlady Z decals and some coats of future to seal it
all in. It really adds a nice shine!
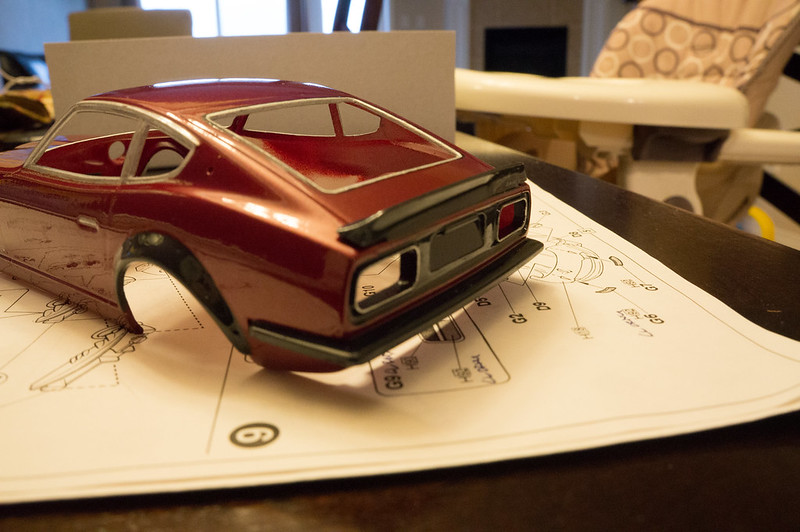
Finally
I got all the lights painted and assembled, as well as the glass, and it was
time to put the body on the chassis. It was a pretty tight fit, but I managed
to get it together without breaking anything.
The
finished product.
No comments:
Post a Comment